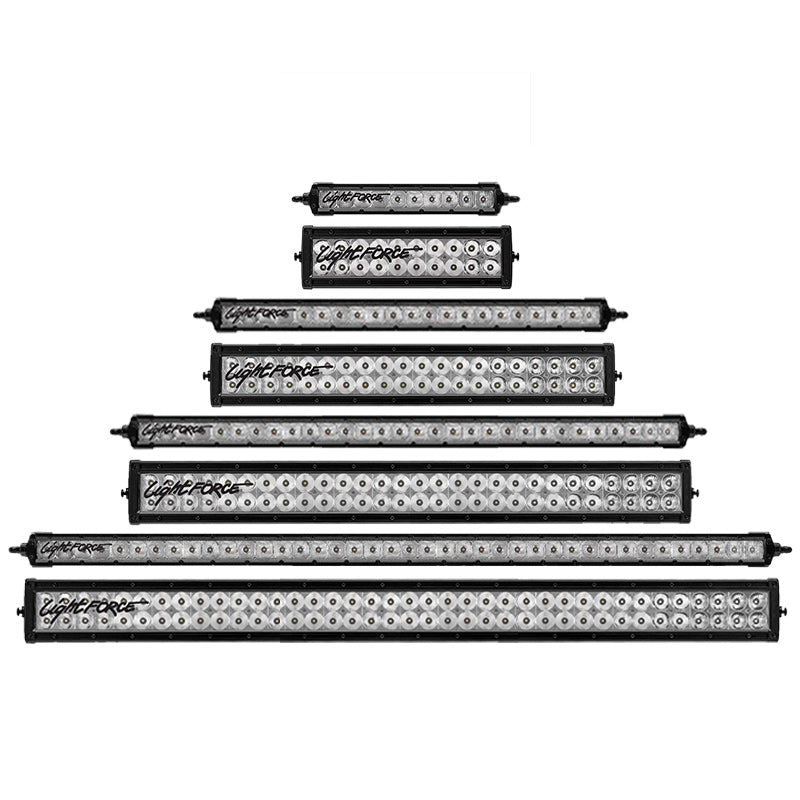
If you’re a serious 4WD enthusiast, you know that adding a light bar to your 4x4 can make all the difference to your off-road experience. Not only do they allow you to see and be seen better than factory headlights, they also give you the ability to explore some of your favourite destinations at night.
Forget hiring an installer or waiting for a mate to help you out. See how to wire your new light bar in less than an hour, using our step-by-step guide and handy wiring diagram.
How many light bars can I have on my vehicle?
If you own a vehicle with additional driving lights, you’re required to adhere to the National Code of Practice (NCOP) for Light Vehicle Construction and Modification. It outlines the “minimum design, construction, installation and performance requirements for modifications to light vehicles.”
The NCOP, and state or territory guidelines, dictate how many additional driving lights you can have on your vehicle. You are allowed up to a maximum of 4 additional driving lights on your vehicle. Each light must not cause discomfort to the driver either directly or indirectly.
What are the rules for light bars in my state?
The rules for each type of driving light differ from state to state.
If you’re unsure which locations on your vehicle are allowed or not allowed additional lighting, we’ve outlined where additional driving lights may be fitted for each state:
Lights that protrude from the top of the bullbar
Illegal – All states
Forward-facing driving lights that do not protrude upwards from your bullbar
Legal – All states
Positioned on the roof racks
Legal – NSW, QLD, SA, VIC, WA & NT
Illegal – ACT, TAS
Positioned on the sports bar
Legal – NSW, SA, VIC, WA & NT
Illegal – QLD, ACT, TAS
If you need more information about additional driving lights on your vehicle, you can find the legislation for each state below. Be mindful that these laws are subject to change.
What you’ll need
Our LED light bars come complete with everything you need to mount your light bar straight to your 4WD, including a waterproof Deutsch connector and a full wiring harness with multiple mounting options available.
We also have a range of wiring kits for different vehicles.
Before installing
Before you get stuck into installing your light bar, you need to attach brackets to the LED bar.
Our single-row light bars use left and right-hand-sided brackets, which cannot be interchanged. Be sure to install them with the Lightforce logo facing outwards. Our dual-row light bars use reversible brackets. You can attach them facing inwards or outwards.
For a visual guide to attaching your bracket, see Figure 1.
How to wire a light bar
When installed properly, your light bar can provide years of safe and memorable outdoor driving experiences across this great country. To ensure that you get the most out of your new light bar, it’s critical that you install it correctly. Here is our step-by-step guide on how to wire a light bar (with wiring diagram).
This guide to wiring a light bar will work with any LED light bar product from Lightforce.
For a point of reference during installation, refer to our light bar wiring diagram below.
Step 1
Turn off your vehicle. Once the engine has cooled, disconnect the battery.
Step 2
Mount your light bar to your vehicle’s bullbar or another suitable position.
Step 3
Fit the relay in a dry location.
Step 4
Connect the red ring terminal to the positive side of the battery (figure 2, item 4), and the black ring terminal to the negative side of the battery (figure 2, item 5).
Step 5
Connect the red wire from switch to high beam circuit (figure 2, item 1).
Step 6
Run cables to the light.
Step 7
Fit the two-pin waterproof Deutsch-style plug to the socket on light (figure 2, item 2).
Step 8
Ensure that all cables are securely fitted.
Some automotive manufacturers use the negative circuit to activate the high beam. In this situation, unplug the black wire with the open ring (figure 2, item A) from the blue wire (figure 2, item B). The black wire is not used and remains disconnected. Plug the red wire (figure 2, item C) into the blue wire (Figure 2, item B).
About Lightforce light bars
Are you ready to take your off-roading experience to the next level? Our high-performance LED light bars are made using high-output European LEDs, tuned within the reflectors, to create light bars like no other.
Complete with a waterproof connector and wiring harness, the Lightforce LED range delivers unparalleled performance in an efficient lighting package.
See more Lightforce LED light bars


